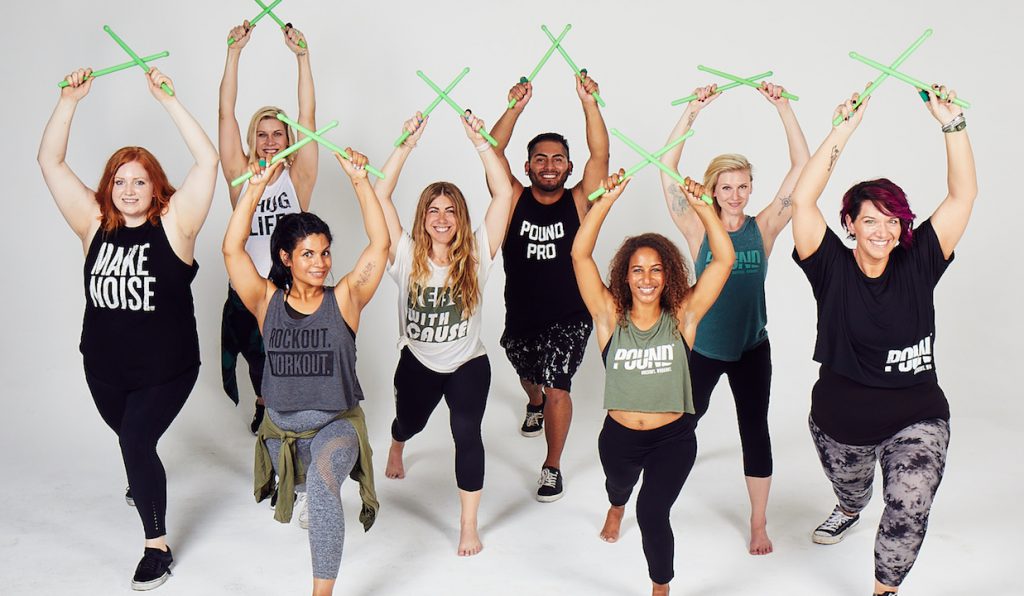
Here we breakdown each of the basics behind every POUND position! Whether you’re a beginner or been teaching for years, we hope you find this information helpful!
S E T P O S I T I O N
- In Set Position, step your feet wider than hip-distance apart and turn your knees and toes out slightly to the sides from the top of your legs.
- Next, stand as tall as you can. Stabilize a neutral spine and pelvis by contracting your core. Lift your chest slightly and relax your shoulders down and back
TIP: try simulating a cough to help brace your core - Then, with your weight in your heels, inhale as you hinge slightly from the hip, bend your knees and lower your body down towards the floor. Knees should track in line with your center toes but should not extend in front of them. Be sure to keep your core braced, your chest lifted and your gaze forward
K I T P O S I T I O N
- In Kit Position, first sit as tall as you can. Lift your chest slightly and pull your shoulder blades back.
- Then, exhale as you contract your core and lengthen your torso back away from your knees. Your abdominals should feel as if they are flattening towards your spine while flaring out to the sides. TIP: hold on to both sides of your waist and exhale as you press your abdominals into your hands, feeling your stomach flatten. You can also try simulating a cough to help brace your core.
- Finally, imagine that a magnet is gently keeping your knees together. Remember to keep your spine lengthened, your shoulders relaxed and your core braced. Don’t forget to breathe!
Too much, too soon? Ease yourself into the intensity of Kit position gently over time. You don’t need to lean back right away; sitting up straight with your core braced is a great option to start with. You can also try sitting upright with your legs crossed.
L U N G E P O S I T I O N
- In Lunge position, start with your feet hip-distance apart. Turn your toes, knees, hips and shoulders square to the front of the room. Relax your shoulders back and down. Engage your core muscles.
- Next, inhale as you bend your front leg’s knee and step backward into a lunge. Your back leg should be stretched long, with only a soft bend at the knee. As you lower into your lunge, maintain the hip-distance separation between your two legs. The majority of your weight should stay in your front leg’s heel, with a significantly less amount of weight in the ball of your back leg’s foot. Tip: be careful not to drop your back leg’s heel to the floor. Instead, keep your heel lifted and your hips, knees and toes square to the front.
- Then, lengthen your spine forward to line up with the anterior tilt of your pelvis (due to your long, stretched back leg). Pull your shoulders back and down, lift your chest and maintain a forward gaze. Check to make sure your core is still tightly braced, supporting the weight of your torso and stabilizing your body in Lunge position. Your front leg’s knee should be directly above the ankle.
Following these steps, start with smaller steps backward so you can gently ease yourself into the intensity of Lunge position over time.
T & A P O S I T I O N
- In T&A position, start lying flat on your back with your gaze directed up towards the ceiling. Bend your knees a comfortable amount (not too much, not too little!) as you place your feet flat on the floor, hip-distance apart.
- Your knees and ankles should be aligned (don’t let your knees drop in towards each other or fall open to the sides).
- Relax your shoulders down away from your ears. Engage your core to stabilize a neutral spine and pelvis. Tip: place your hands on your waist, exhale and contract your core. You should feel your abdomen sink towards your spine as it expands out to the sides, pressing into your hands.
6 Responses
REALLY HELPFUL…THANKS
Love It !!!
It’s really helpful
Very helpful
Like this very helpull..
LOVE THIS !!!
Super, well done! Thank you. 🙂 I was always guessing how far back you went in the Kit position. These pictures help a lot. Of course each one goes back as far as they can but this makes it easier to teach. Great!!